How to Use an RCA Port for Audio Equipment?
Using an RCA Port can seem simple: insert the red plug, match the white plug, and press play. Yet small mistakes can create hum, weak volume, or complete silence. This guide explains how to use an RCA Port safely and correctly with amplifiers, receivers, turntables, mixers, televisions, and powered speakers.
Rod Elliott, an experienced audio electronics designer, has warned that “RCA connections are unbalanced and more susceptible to interference than balanced connections.” That practical point matters in real rooms. A long RCA cable running beside a power strip may collect a low buzzing sound. A loose ground wire can make a turntable sound thin or noisy. Reversing the left and right channels will not damage most equipment, but it can confuse stereo imaging.
Check the labels carefully. Red usually carries the right channel, while white or black carries the left channel. Connect the source output to the amplifier input, not another output. Lower the volume before testing. It is a small habit.
Cable quality matters, but it is not everything. A short, firmly fitted cable often performs better than an expensive cable installed carelessly. Avoid forcing a bent connector. Do not connect powered outputs together. That mistake deserves attention.
This article also recognizes an inconvenient truth: RCA standards are familiar, but they are not perfect. Equipment layouts differ, grounding problems remain possible, and some symptoms require testing with another cable or device. Careful observation beats guessing.
RCA Ports: Structure, Signal Flow, and Common Audio Uses
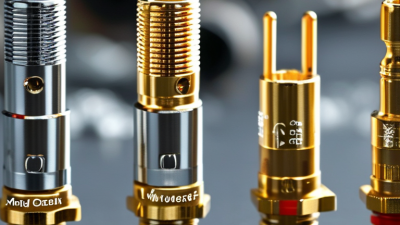
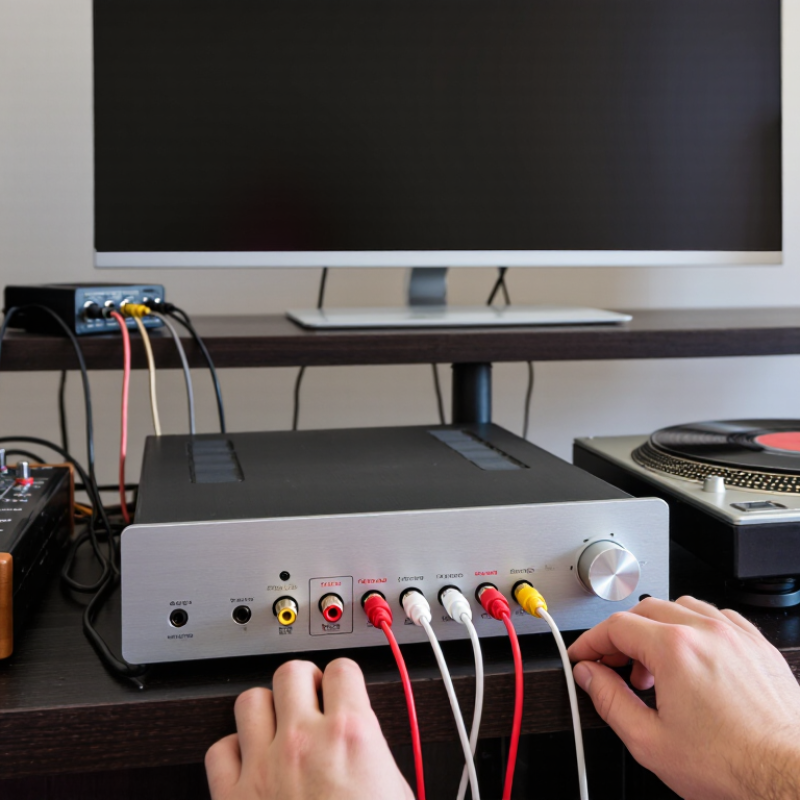
RCA ports are simple, color-coded connectors for unbalanced analog audio. Each port carries one channel, while the outer metal sleeve carries the signal ground. White or black usually identifies the left channel, and red usually identifies the right. These colors are helpful, but they are not absolute rules. Check the equipment labels when possible.
The signal normally travels from an output port to an input port through a shielded RCA cable. A media player may send line-level audio to an amplifier, which then drives passive speakers. A turntable is different. Its output may require a phono preamplifier before reaching a standard line input. Connecting it directly can produce very quiet, thin sound. It can also add unwanted noise.
RCA ports also appear on mixers, recorders, receivers, and some powered speakers.
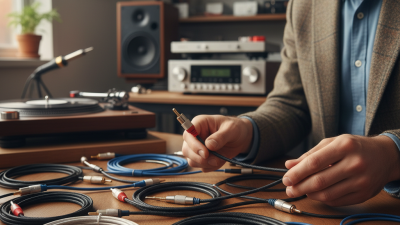
Power everything down first. Then match output to input, and keep left and right channels consistent. Never force a plug into a loose or damaged socket. I often test one cable at a time when troubleshooting. Swapping the left and right plugs can reveal whether the fault follows the cable or the equipment. A low hum may come from a ground loop, but it may also come from poor shielding or nearby power cables. I have made that assumption incorrectly before. Shorter cables usually reduce interference, though they cannot repair a defective circuit. Contacts should stay clean and dry.
Identify the RCA Input and Output on Your Audio Equipment
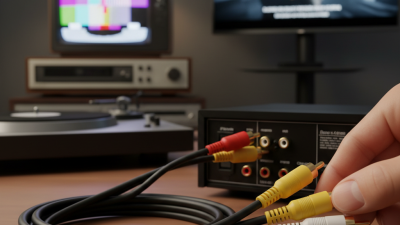
An RCA connection usually appears as a red and white pair. Red carries the right audio channel, while white carries the left. The labels matter more than the colors, though. An RCA input receives sound from another device. An RCA output sends sound to another device. That direction is the key.
Look behind the equipment with the power turned off. Search for labels such as AUX IN, LINE IN, or CD IN. These are inputs on an amplifier or powered speaker. Labels such as LINE OUT, REC OUT, or AUDIO OUT indicate outputs on a source device. A cassette deck, television, or media player may provide output. An amplifier may provide both input and output connections.
I once connected two outputs together because the sockets looked identical. Nothing worked. The mistake was simple. RCA sockets do not reveal direction by appearance. Trace the signal path: source output to amplifier input. Keep red connected to red and white to white. Start with the volume low, then raise it slowly. If there is no sound, check the selected input and cable seating. A PHONO input needs special care because it may expect a very low-level turntable signal. Some turntables require a separate preamplifier before using a LINE input. Labels can be confusing, and manuals are sometimes clearer than the rear panel.
Choose Compatible RCA Cables and Check the Channel Labels
How to Use an RCA Port for Audio Equipment?
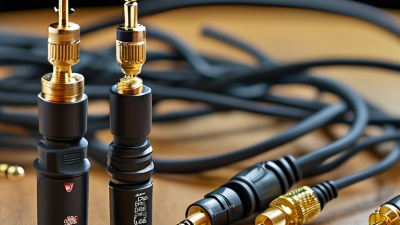
Choose compatible RCA cables before connecting your audio equipment. Standard RCA cables usually carry analog, line-level audio signals. Use shielded cables with firm plugs and suitable lengths. Loose connectors can cause crackling, hum, or intermittent sound. Avoid forcing a plug into a port. The connection should feel secure, not tight.
Channel labels matter. Red usually identifies the right audio channel, while white or black identifies the left channel. Match each plug with the same color on the input and output. Keep the source output connected to the amplifier or receiver input.
Reversing these connections may not damage the equipment, but the stereo image will sound backward. Check the labels twice.
I once connected the left channel incorrectly during a quick setup. The music played, so I assumed everything was fine. Later, a vocal seemed strangely positioned. That small mistake reminded me that sound can hide wiring errors.
RCA ports marked “phono” may require a turntable signal and a dedicated preamplifier. Other ports may accept only line-level sources. Read the equipment manual when labels seem unclear.
Do not rely on color alone. Some older devices use faded markings, and cable colors are not always consistent. A short listening test can confirm both channels before you secure the equipment permanently.
Connect RCA Audio Devices Step by Step
How to Use an RCA Port for Audio Equipment?
Connect RCA audio devices step by step with the equipment switched off. Check the rear panels for input and output labels. An output sends sound away from a device. An input receives it. Match the red plug with the right channel and the white plug with the left channel. Keep the cable straight. Do not twist the connector.
Insert the plugs firmly into the matching RCA ports. They should slide in smoothly. Never force them. Connect the output from the source device to the input on the amplifier or powered speaker. For example, connect “Audio Out” to “Line In.” Keep the volume low before turning the system on. This reduces pops that may stress the speakers.
Turn on the source, then the receiving equipment. Play a familiar recording and raise the volume slowly. If one channel is silent, switch off the system and check each plug. I often find a loose white connector causes the problem. It is an easy mistake. If there is humming, separate the RCA cable from power cords and test again. A turntable may require a suitable phono preamplifier, not a standard line input. I once overlooked this difference, and the sound became very weak. Check the device manual when the port labels seem unclear.
Test the Audio Signal and Resolve Common Connection Problems
How to Use an RCA Port for Audio Equipment?
An RCA port carries an unbalanced audio signal through a center pin and outer ground sleeve. Connect the red plug to the right channel and the white or black plug to the left. Keep the source powered down before connecting. Then select the correct input and raise the volume slowly.
Test the signal with a known-working cable and another audio source. Play a steady recording, then touch nothing for a few seconds. If one channel is silent, swap the plugs. The fault follows the cable if the silence moves. A multimeter can check continuity, but avoid testing powered equipment. Hum often points to a damaged shield, loose ground, or nearby electrical interference. Clean visible oxidation carefully. I sometimes replace a cable too quickly; careful swapping can reveal a simple input mistake.
Tips: Keep RCA cables short and separated from power cords. Listen at low volume during testing. The World Health Organization reports that over 1 billion young people face hearing risks from unsafe listening levels. Use brief tests. The 2024 Global E-waste Monitor recorded 62 million tonnes of electronic waste in 2022, so repairing a cable is often more responsible than discarding working equipment. IEC 60268-3 also provides recognized guidance for audio equipment measurements, but real rooms remain imperfect. Record which connection worked. That small note prevents repeated errors.
How to Use an RCA Port for Audio Equipment?
Test Signal: A standard consumer line-level reference of −10 dBV produces approximately 0.316 V RMS, or 0.447 V peak, when a 1 kHz sine wave is applied through the RCA connection.
Connect the RCA source output to the receiving input, select the correct input, and check the signal with an audio interface or oscilloscope. A clean sine wave indicates correct polarity and a stable connection. A flat line may indicate a muted source, incorrect input selection, a damaged cable, or a poor ground connection. Hum or irregular distortion commonly points to grounding or cable interference.